How to make the best crème brûlée. I have been making this crème brûlée for a long time for my guests. They always said it is one of the best we have ever had. The recipe is straightforward.
“Crème brûlée is a classic dessert that can make by anyone with the right techniques and a bit of patience. Selecting quality ingredients and perfecting the caramelized topping are essential steps in creating this elegant and delicious dish. Gather your tools and ingredients, and enjoy making your own crème brûlée!” this guide will help you through every step to create the perfect crème brûlée right in your kitchen.
Brief History of Crème Brûlée
Crème brûlée, which translates to “burnt cream,” is a classic French dessert with a rich history. Its origins can be traced back to the 17th century, where it first appeared in French cuisine. Over time, it has become a staple in fine dining and is beloved worldwide for its delightful contrast of textures.
This dessert is often associated with elegance and sophistication, making it a popular choice for special occasions and high-end restaurants. Its simplicity, however, allows it to be recreated at home, providing a touch of luxury to everyday life.
Ingredients Needed for Crème Brûlée
Key Ingredients
To make crème brûlée, you will need the following ingredients:
- Heavy cream: 500ml
- milk: 168 ml
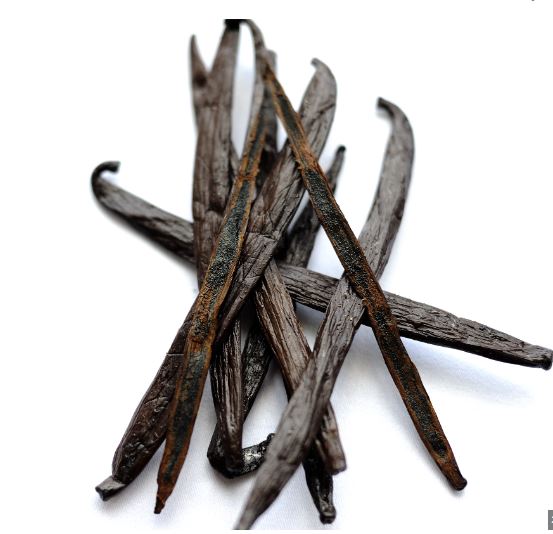
- Vanilla pod: 1 (or 1 tsp vanilla extract)
- Egg yolks: 7 large(142g)
- Granulated sugar: 110g
Alternative Ingredients
For those looking to experiment or accommodate dietary preferences, consider these alternatives:
- Dairy-free milk alternatives (like coconut cream)
- Flavored extracts (almond, citrus, etc.)
- Sweeteners (such as honey or maple syrup)
Preparation Steps
Step-by-Step Guide
- Preheat your oven to 203°F (95°C).
- Split the vanilla bean and scrape out the seeds.
- In a saucepan, combine the cream, vanilla bean seeds, and pod. Heat until just simmering, then remove from heat.
- In a mixing bowl, whisk together egg yolks, and sugar until pale and thick.
- Gradually add the hot cream to the egg mixture, whisking constantly.
- Strain the mixture through a fine-mesh strainer into another bowl to remove the vanilla pod.
Tips for Preparing Ingredients
- Ensure eggs are at room temperature for better blending.
- Use fresh, high-quality cream for the best texture and flavor.
- If using vanilla extract instead of a bean, add it after the cream is heated.
Mixing Ingredients
Combine the ingredients slowly to avoid curdling the eggs. This step is crucial for a smooth and creamy custard.
Infusing Flavors
Classic Vanilla Flavor
Vanilla is the traditional flavor for crème brûlée, providing a subtle, aromatic sweetness that complements the rich custard.
Classic Vanilla Flavor
Vanilla is the traditional flavor for crème brûlée, providing a subtle, aromatic sweetness that complements the rich custard.
Other Flavor Variations
- Citrus: Add zest from lemons or oranges to the cream.
- Coffee: Infuse the cream with coffee beans for a robust flavor.
- Lavender: A few sprigs of lavender can add a unique floral note.
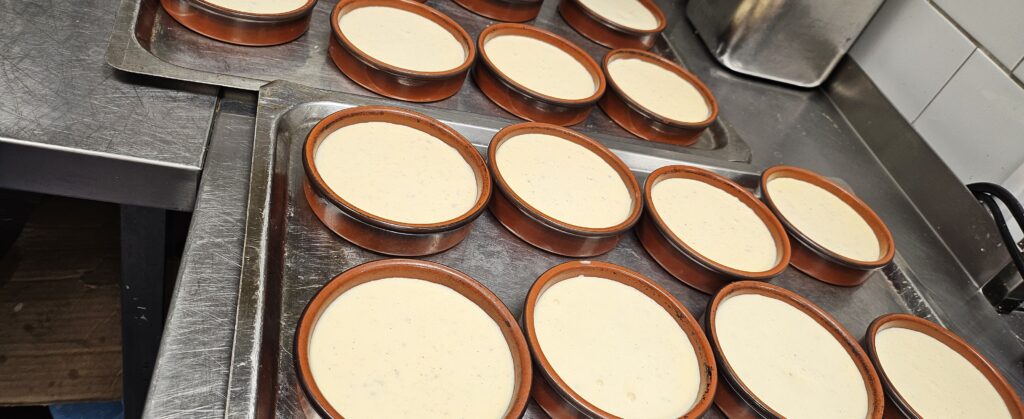
Baking the Custard
Water Bath Method
Place the filled ramekins in a baking dish and pour hot water around them until it reaches halfway up the sides. This ensures even cooking and prevents the custard from cracking.
Temperature and Timing
Bake at 203°F (95°C) for 110-115 minutes, or until the custard is set but still slightly jiggly in the center.
Chilling the Custard
Cooling Process
Remove the ramekins from the water bath and let them cool to room temperature. Then, refrigerate for at least 2 hours, or overnight for best results.
Optimal Chilling Time
The longer the custard chills, the better the flavors meld and the firmer the texture becomes. Aim for at least 4 hours if possible.
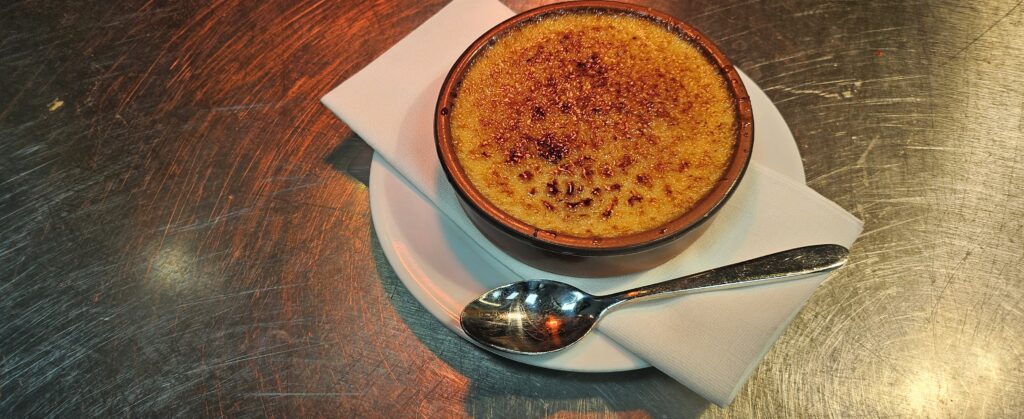
Creating the Caramelized Sugar Topping
Choosing the Right Sugar
Turbinado sugar is ideal for caramelizing due to its coarse texture, but regular granulated sugar works well too.
Techniques for Caramelization
Sprinkle an even layer of sugar over the chilled custard. Use a kitchen torch to melt and caramelize the sugar until golden and crisp.
Using a Torch for Caramelizing
How to Use a Kitchen Torch
Hold the torch about 2-3 inches from the sugar surface. Move it in a circular motion to melt and caramelize the sugar evenly.
Safety Tips
- Keep the flame moving to avoid burning the sugar.
- Use the torch in a well-ventilated area.
- Keep flammable objects away from the torch.
Serving Suggestions
Presentation Tips
Serve crème brûlée immediately after caramelizing the sugar to maintain the contrast between the warm topping and cold custard.
Pairing with Other Desserts
Crème brûlée pairs beautifully with fresh berries, biscotti, or a drizzle of fruit compote for added flavor and visual appeal.
Common Mistakes to Avoid
Troubleshooting Tips
- Curdled custard: Avoid overcooking and ensure even mixing of ingredients.
- Cracked custard: Use a water bath and monitor baking time closely.
Preventing Cracked Custard
Always bake in a water bath and avoid sudden temperature changes. Let the custard cool gradually to room temperature before refrigerating.
Health Considerations
Nutritional Information
Crème brûlée is a rich dessert, typically high in calories, fat, and sugar. Moderation is key when enjoying this treat.
Making a Healthier Version
- Use low-fat dairy alternatives.
- Substitute some of the sugar with natural sweeteners.
- Opt for smaller serving sizes.
Frequently Asked Questions (FAQs)
1. Can I make crème brûlée without a kitchen torch?
Yes, you can caramelize the sugar under a broiler but watch closely to prevent burning.
2. How long can I store crème brûlée in the refrigerator?
Crème brûlée can be stored for up to 15 days. Add the sugar topping just before serving.
3. Can I freeze crème brûlée?
Freezing is not recommended as it can alter the texture of the custard.
4. Why did my custard turn out grainy?
Graininess can result from overcooking or improperly mixing the custard ingredients.
5. What can I do with leftover egg whites?
Leftover egg whites can be used for making meringue, macarons, or an egg white omelet.